Connectivity - Check DNS
Check if your DNS resolves relays-new.cardano-mainnet.iohk.io This method works on the three supported operating systems: macOS, Linux, Windows.
1. Open CMD on Windows or Terminal on macOS and Linux
2. Run the command
nslookup relays-new.cardano-mainnet.iohk.io
Successful output looks like below. A successful output indicates that the problem is most likely in a Firewall, not DNS.
Server: 8.8.8.8
Address: 8.8.8.8#53

Non-authoritative answer:
Name: relays-new.cardano-mainnet.iohk.io
Address: 18.188.75.201
Name: relays-new.cardano-mainnet.iohk.io
Address: 54.150.68.245
Name: relays-new.cardano-mainnet.iohk.io
Address: 18.180.136.78
Name: relays-new.cardano-mainnet.iohk.io
Address: 3.129.177.185
Name: relays-new.cardano-mainnet.iohk.io
Address: 52.9.197.120
Name: relays-new.cardano-mainnet.iohk.io
Address: 18.158.187.73
Name: relays-new.cardano-mainnet.iohk.io
Address: 18.158.41.187
Name: relays-new.cardano-mainnet.iohk.io
Address: 54.176.88.111
If it fails:
Change DNS server on your machine:
Change DNS MacOS
-
On your Mac, choose Apple menu
 > System Preferences, then click Network.
 -
In the list at the left, select the network connection service you want to use (such as Wi-Fi or Ethernet), then click Advanced.
-
Click DNS, then click the Add button
 at the bottom of the DNS Servers list. Enter the IPv4 or IPv6 address for the DNS server.
Click the Add button
at the bottom of the Search Domain list, then enter the search domain—for example, apple.com. -
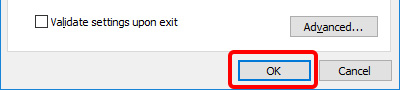
When you’re finished, click OK.
Change DNS Linux
- Right click on the network manager icon in the panel and choose "Edit connections..."
- Select your connection from the wired or wireless tab, choose "Edit"
- (Enter your password if the connection is set as "system-wide available")
- Choose IPv4 settings tab
- Switch method to "Automatic (DHCP)"
- Enter the name server you want in the box "Additional DNS servers" and press "Apply"
Change DNS on Windows 10
Try Flush DNS Cache first. If it does not work:
- Go to the Control Panel
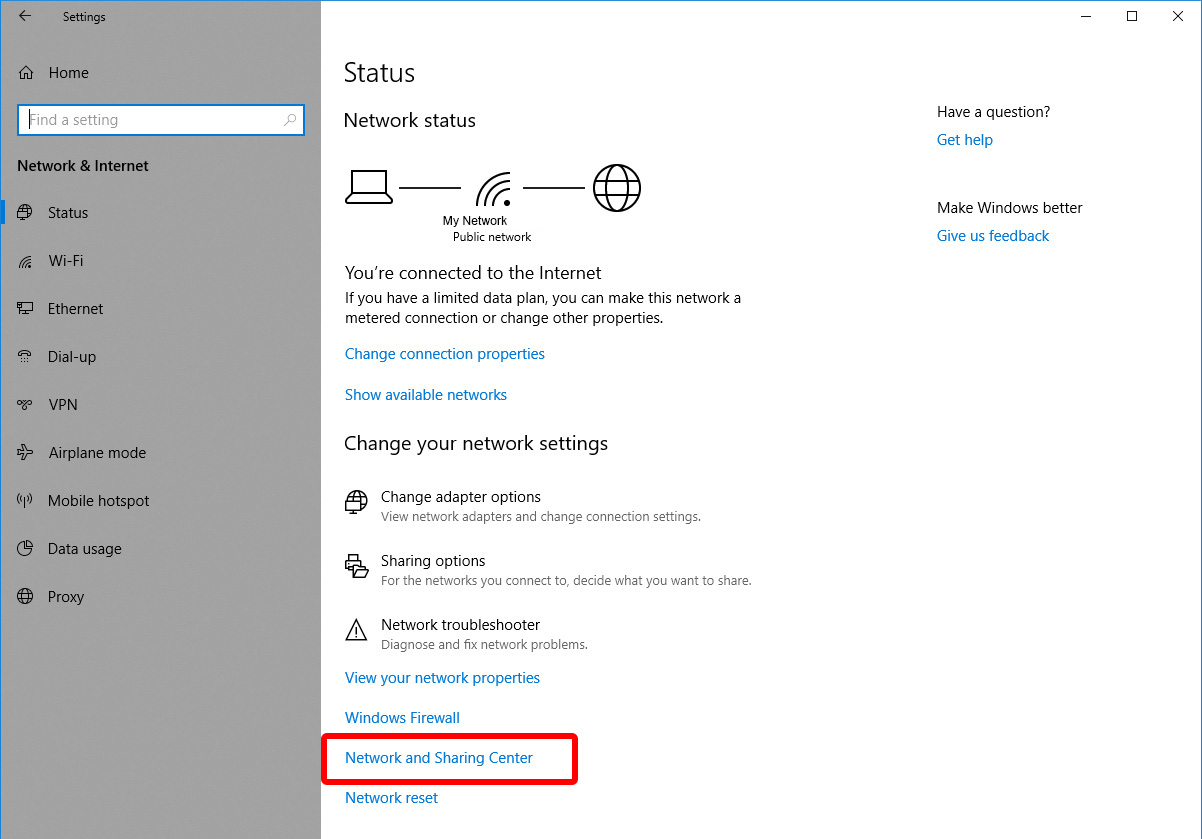
- Click on Network and Internet

- Click on Network and Sharing Center

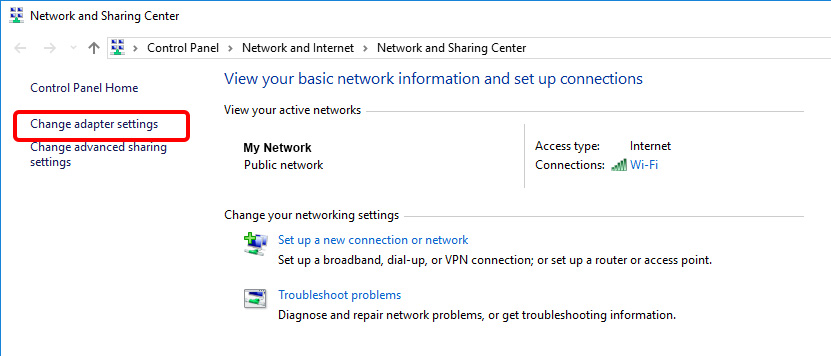
- Go to Change Adapter Settings.
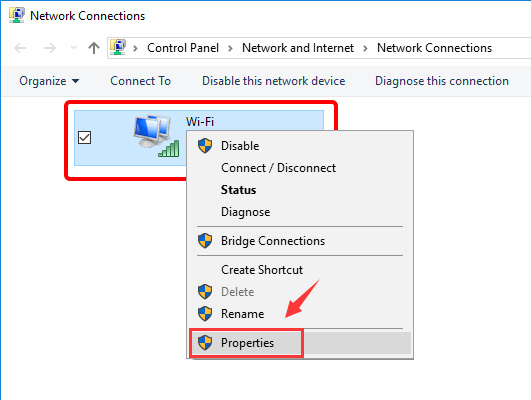
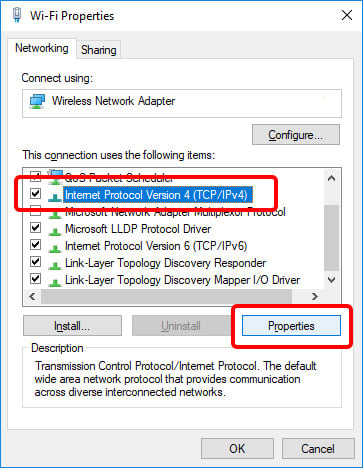
- You will see some network icons here. Select the network you are currently connected to and right click on it. Select Properties.
- Click on IPv4 and select Properties.
- If “Obtain DNS server address automatically” is selected, click the radio button next to “Use the following DNS server addresses:”
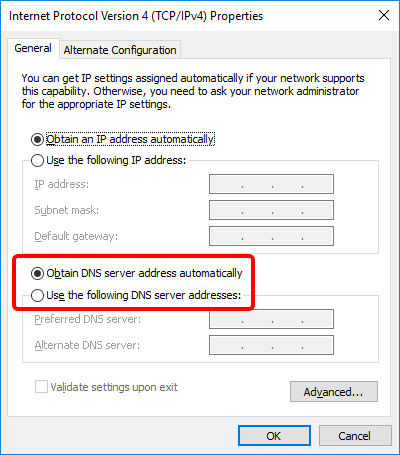
- Now enter the DNS addresses you want to use. For example Preferred 8.8.8.8 and Alternate 8.8.4.4 to use Google's DNS.

- Click on OK and Close.